 Written by Sophie Clarke
Keeping a grinder clean comes down to matching method to material: save the kief first, use alcohol and salt for metal, soapy water for acrylic, and a dry toothbrush for wood, then rinse, dry, and reassemble once every piece is fully dry.
Contents7 sections
How to clean a weed grinder means saving the kief first, then matching the method to the material: iso for metal, soapy water for acrylic, a dry brush for wood. That one rule beats any single recipe, because the wrong liquid can cloud acrylic or swell wood grain.
What gums up a grinder is a mix of resin, trichomes and fine plant dust. Resin behaves like warm caramel: sticky at room temperature, it coats the teeth, threads and kief screen until the lid stiffens and the grind turns uneven. Sticky, resin-rich cannabis flowers clog faster than dry ones, and humidity or pocket heat speeds things up.
Don’t clean by the calendar. Your grinder tells you when it’s due:
- a gritty or squeaky turn
- a lid that sticks or fights you on the threads
- a blocked screen, with kief no longer dropping through
Think of what follows as a guide: cleaning by material, not by habit. You get a two-minute freezer and brush routine, a full Iso soak for metal and acrylic plus a no-alcohol route, the wood exception, and how to collect your kief before any of it. Short answers to the frequently asked questions close the page.
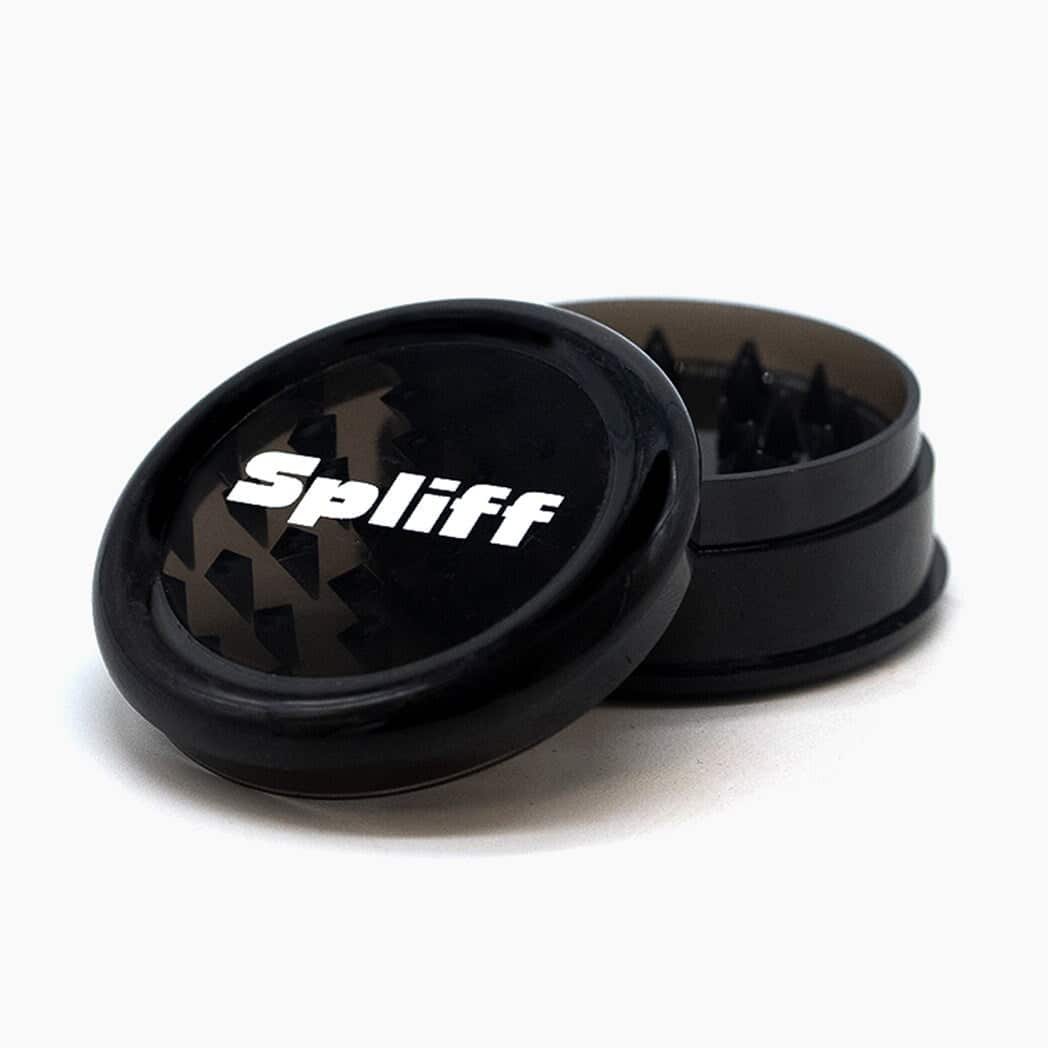
Why Your Grinder Clogs Up
Build-up also feeds itself. Once a thin film of resin coats the teeth, fresh cannabis dust sticks to it and stays put, so every session leaves a slightly thicker layer than the one before. That’s why a grinder that turned fine last week can feel stiff today.
How often should you clean it?
Clean it when the grinder tells you to, not when the calendar does. Give it a quick brush every few uses, and do a deep clean as soon as the threads start to stiffen. For regular use, that usually means about once a month.
Light, occasional use can stretch that interval a lot further. Sticky strains and humid storage shorten it, because they speed up the layering described above.
Small, frequent cleaning beats one big scrub. A thin residue lifts off in seconds, while a thick, hardened crust needs a long soak and more elbow grease, which is where coatings get scratched. Stick to that rhythm and your grinder keeps turning like brand new for much longer. Half of knowing how to clean a weed grinder is simply not letting it get that bad.
Quick Clean: Freezer and Brush
Once the signs show up, most weekly build-up comes off without a drop of liquid. This routine works on metal, acrylic and wood alike, and it’s the fastest answer to how to clean a weed grinder between deep cleans.
- Disassemble the grinder fully: lid, teeth chamber, screen chamber and kief catcher, so the cold reaches every surface.
- Chill the parts in a sealed freezer bag.
- Brush while cold: use a toothbrush or the little brush supplied with your grinder on the teeth, then a toothpick for the corners. Keep sharp metal away from the screen.
Can a grinder go in the freezer?
Yes. Metal, acrylic and wood all handle the freezer fine, provided the pieces sit in a sealed bag. Leave them until they feel cold right through, then brush straight away while the resin is still brittle.
As the parts warm up, condensation beads on every surface, like a chilled glass on a summer terrace.
Pat each part with a lint-free cloth and leave everything until no droplet remains. Repeated every few uses, this pass keeps your grinder clean: you only need a full soak once brushing stops shifting the residue.
Deep Clean for Metal and Acrylic Grinders
When the freezer and brush no longer shift the gunk, it’s time for liquid. Which liquid depends on your grinder’s material, and that choice is the core of how to clean a weed grinder without wrecking it.
Isopropyl soak, step by step
For aluminium, zinc alloy or steel, high-concentration isopropyl alcohol is the quickest way back to almost brand new. With the parts already apart, here’s the sequence:
- Drop the pieces into a seal bag and pour in enough isopropyl to cover them.
- Add a spoonful of coarse salt, close the bag and shake it hard so the alcohol and salt scrub the teeth together.
- Leave everything to soak, then use a toothbrush on the teeth and threads, with a toothpick for the corners.
- Rinse each part under clean water, pat it with a towel and let it dry fully, apart, before you put it back together.
Acrylic gets the soft version: forget the long soak, use warm soapy water and a toothbrush, or a very brief iso wipe rinsed off right away.
No isopropyl at home? Hot water with a squeeze of dish soap works on metal too, with a longer soak and more toothbrush work. The same rule applies after: rinse, dry, then wait.
If you’re shopping for a replacement, check the material on the Grinder Max product page first, so you know which of these routes it will need.
Wooden Grinders: What to Avoid
That liquid-first logic stops at wood. The general rule for any wooden accessory applies here: no alcohol, no soak, never the dishwasher. Liquid swells the grain, strips the finish, and can loosen the metal teeth, so the grinder may warp or crack.
Cleaning a wooden grinder the right way
Clean a wooden grinder dry, in this order, and it keeps turning smoothly with nothing left to warp.
- Freeze and brush: run the routine from “Quick Clean: Freezer and Brush”, then let the parts warm to room temperature and wipe off condensation.
- Pick out the teeth: a toothpick reaches the gaps where resin packs tightest. Wood is softer than metal, so skip knives and needles.
- Wipe: for a sticky spot, use a cloth barely damp with water, then pat dry right away. That’s the outer limit.
- Oil the exterior: a thin coat of food-safe mineral oil keeps the wood from drying out. Keep it off the teeth.
Treat it like a good wooden cutting board: a quick wipe and a little oil keep it going, a night in the sink ruins it. That’s the whole wood chapter of how to clean a weed grinder: dry tools, minimal moisture, oil on the outside only.
Collecting the Kief Before You Clean
Whatever your grinder is made of, one step comes before every method above: get the kief out while the parts are still dry. Iso and soapy water both wash it away on contact, so anything left in the catcher just goes down the sink.
Think of it as step zero of how to clean a weed grinder. It takes less time than boiling a kettle:
- Chill first. Run the freezer step from “Quick Clean: Freezer and Brush” before opening anything. Cold kief lets go of the screen in clean flakes instead of smearing into the mesh.
- Tap over paper. Hold the grinder over a clean sheet of paper and tap the sides so the loose powder falls out.
- Scrape catcher and screen. Work the scraper across the floor of the catcher, then lightly along the underside of the screen. Fold the paper into a funnel to gather everything in one place.
Here’s the good news if you grind sticky buds: resin-rich flowers fill the catcher faster. With cannabis flowers like our Amnesia, there’s usually a proper layer waiting for you. Only once the catcher is scraped bare does the real grinder clean begin, with whichever method matches its material.
Conclusion
With the kief safely jarred, the rest comes down to one call: match the method to the material. That’s the whole answer to how to clean a weed grinder:
- Metal: an iso soak or the salt shake, then rinse and let dry completely.
- Acrylic: warm soapy water, with iso only in passing.
- Wood: a dry brush and a toothpick, never a soak.
Use the freezer and brush routine between deep cleans and liquid becomes the exception. If a detail still bugs you, the frequently asked questions cover it in a few lines.
When it’s time to refill that freshly cleaned grinder, Spliff ships orders to several European countries, so fresh flowers are never far off.
CBD is not a medicine and is not a substitute for medical advice or treatment. If in doubt, consult a healthcare professional.
Frequently asked questions
How do you clean a grinder without alcohol?
Skip iso and use warm soapy water instead, which works well on acrylic grinders without clouding the plastic. Scrub the teeth and threads with a toothbrush, then rinse and let the parts dry fully apart before reassembling. For wood, stick to a dry brush and toothpick, since any liquid risks swelling the grain.
How to clean a plastic weed grinder?
Soak the acrylic pieces in warm soapy water rather than isopropyl, which can leave the plastic cloudy over time. Work a toothbrush over the teeth and threads to loosen residue, then rinse each part under clean water and pat dry with a towel. Let everything air dry fully before shaking it back together, keeping the grinder clean between uses with a quick brush.